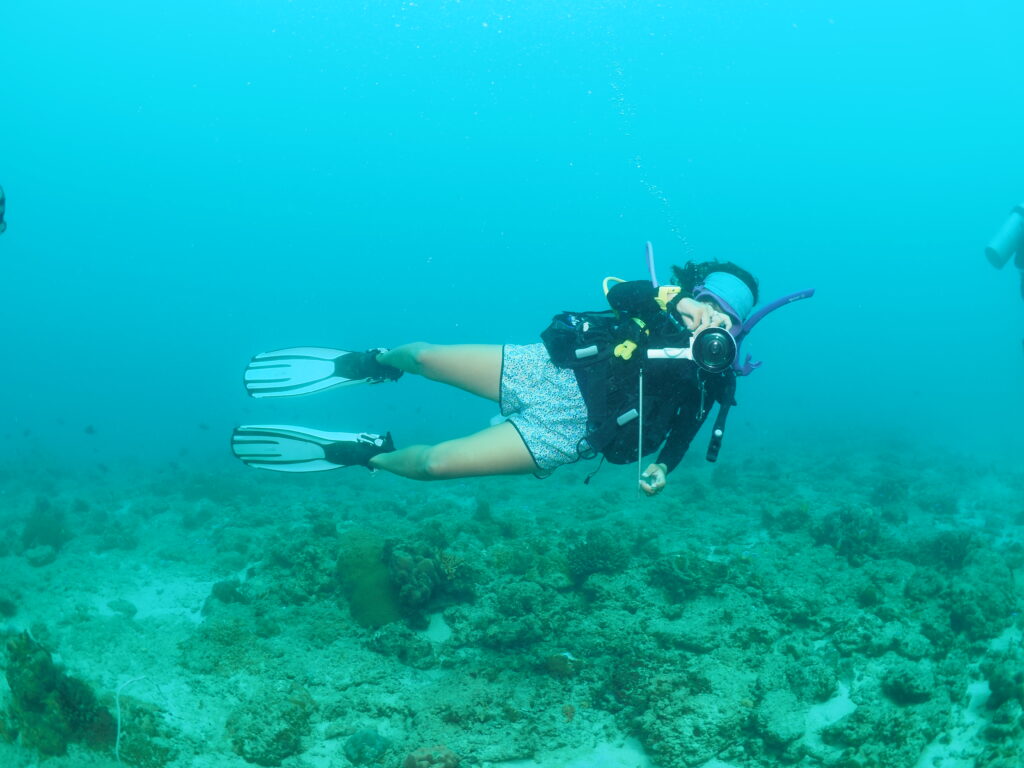
Teaching Kinesthetic Awareness – For Instructors
Some students pass every test but still aren’t ready to dive. Here’s why — and what to do.
Which Agency is Better? or, How to Select an OW course
The agency on your card matters less than you think. This is what really does!
Scuba Gear Recommendation for Beginners
Don’t buy the regulator first. Every dive shop will tell you otherwise.
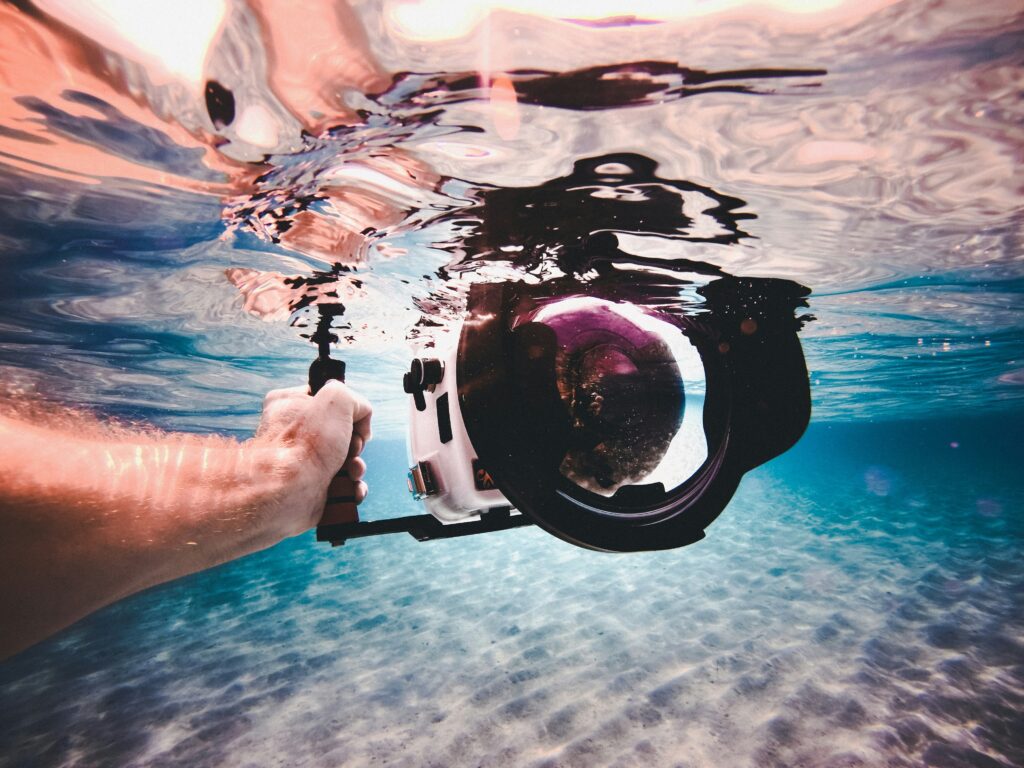
My Underwater Rig
Every piece of kit has a story — and most involve water where it shouldn’t be…
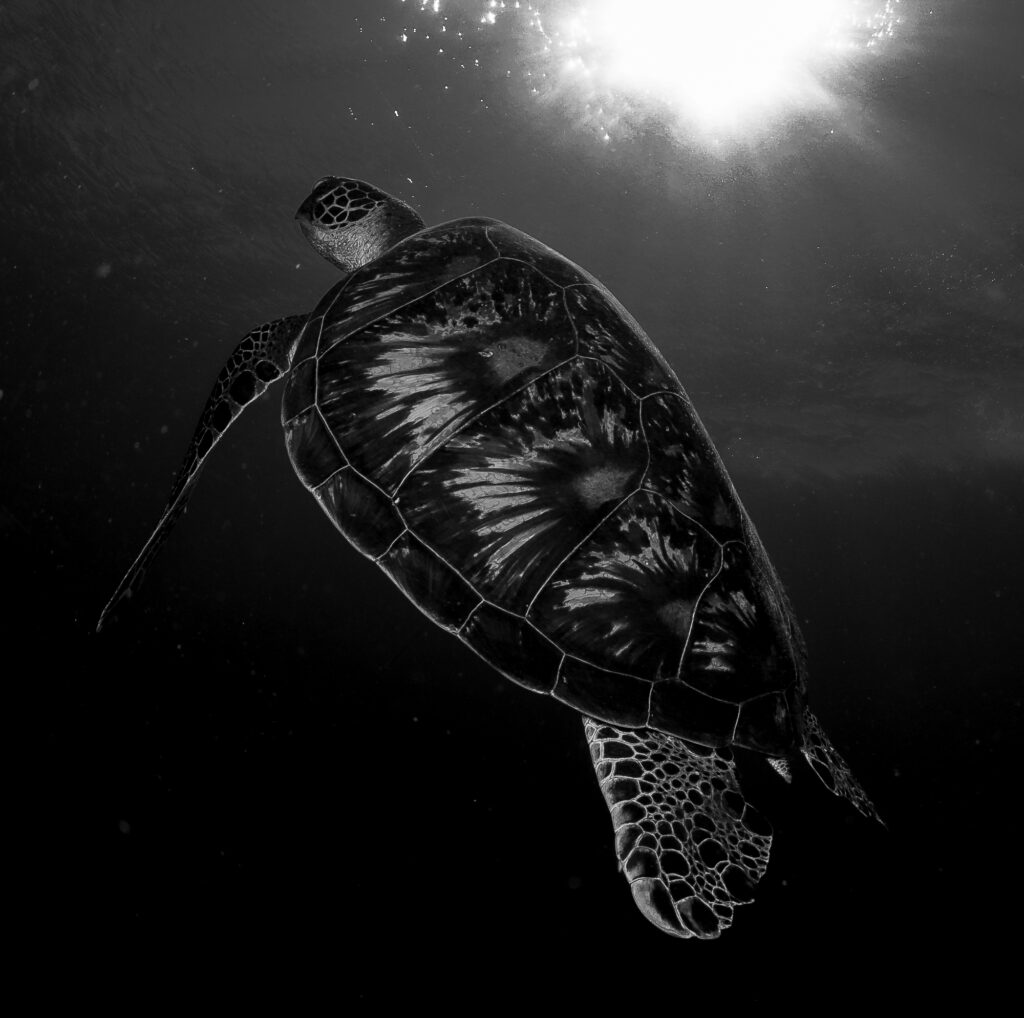
10 Tips to Improve Your Underwater Photos
Stop shooting from above. Get low, get close, and watch everything change.
Building a System for Underwater Photography
Dream shots don’t need a $10k rig — here’s how to build up to one without the regret.
ILC or Compact – Which is Best for Underwater Use?
Before you spend $5000 underwater, read this. Your whale shark won’t wait.