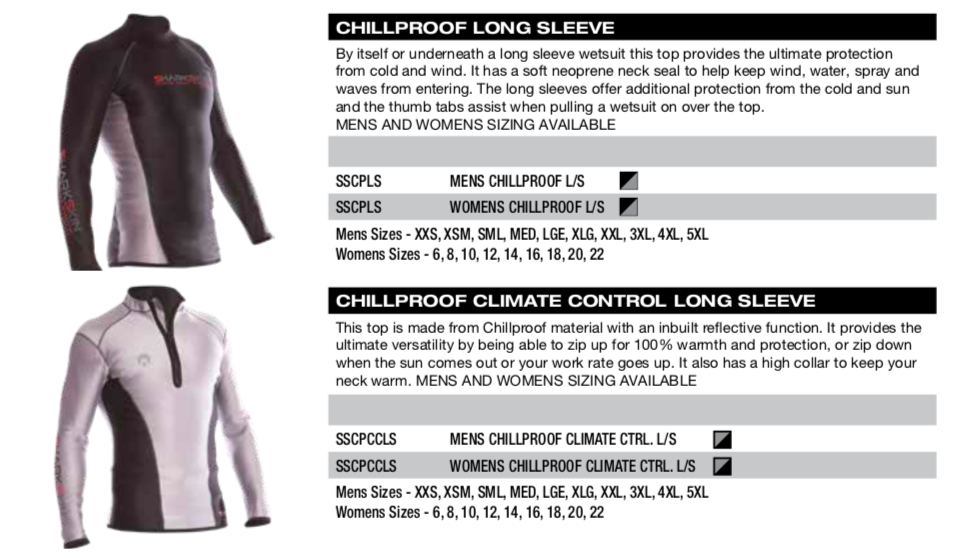
HOW TO PICK A DIVE COMPUTER – A BUYER’S GUIDE
By: Vandit Kalia (Vinnie)
One recurring theme that you may have noticed in my articles – and if you do any course with me – is my tendency to get on a soapbox and talk about divers taking ownership of their own safety by engaging their brains. That is the windmill I have chosen to joust against, and, for better or worse, will continue to do so.
But a fundamental requirement to taking ownership of your own safety is having all the information needed in order to do – information drives decision-making, after all. What information are we talking about ? Dive time, depth, no deco time and air left at minimum – direction and air consumption rate as nice-to-have extras. This is the information you need in order to make an informed decision about your dive, and you get this information from a dive computer.
I really cannot stress this enough – if you are diving, you really should own your own dive computer. And no, I don’t say this because we sell dive computers. We make a few thousand rupees on each sale. It is hardly the sort of stuff that is going to let me retire to a tropical island.
Now, many people – especially those used to diving in tropical locations – will be used to having the DM lead the dive, and often, the DM also has the dive computer and manages the dive profile for everyone. Let’s face it – ideal or not, this system works and thousands of people dive daily following this approach. But there is a reason this is not ideal and is not recommended: when it works well, it works well. But if something goes wrong, it compounds the dangers. What if you get separated from the group? What if you end up going a little deeper during each dive, for multiple dives? Most importantly, this habituates the diver into doing “trust me” dives, and prevents them from engaging their brain on each dive – this significantly hampers their development as a diver because if a problem happens, they have not developed the judgement or critical thinking skills or discipline needed to solve the problem.
That is why I push dive computer ownership more aggressively than, say, doing a Specialty Course with us (which earns us more). It is one of the best investments you can make in controlling your own safety and eliminating variables which can add complexity to a problem.
So the next question (and one of the most common ones I get asked over email or Whatsapp) becomes – what dive computer should I get ? There is a bewildering array of dive computers out there in the market, ranging from under twenty thousand rupees to well over one lakh (a few hundred dollars to well over fifteen hundred).
The purpose of this article is to demystify dive computers and give you the information you need to pick the dive computer that works very best for your budget and preferences.
THE FUNDAMENTALS: NO-DECO INFO & DIVE COMPUTER ALGORITHMS
The main reason you get a dive computer is to know how much no-deco time you have left – everything else can be figured out through some combination of a dive watch, depth gauge, SPG and/or compass. So it stands to reason that this should be the most important thing, right? Well, yes and no.
Yes, it is indeed the most important thing. However, the good news is that virtually all dive algorithms being used today are robust/reliable enough to provide safe information to most divers. Let’s talk about that in a little more detail.
As you guys may remember from your Open Water course, the decompression model is basically an empirical curve that is fitted onto existing data about safe/unsafe dive profiles. It is essentially a probability curve which predicts the risk of getting DCS for a dive to a given depth/time. The No Deco Limit is basically a point along the probability curve where the risk of DCS is deemed to be very low.
The most popular – and industry standard – decompression model is the one you learned about in the Open Water course: it was created by John Haldane and refined further by Dr Albert Buhlmann, into its current iteration, the ZHL16 – most computers today use a variant of this model, with some tweaking done as per each company’s preferences. Another popular model is the RGBM model, developed by Dr Bruce Weinke, which focused not just on the traditional tissue absorption model but also on controlling the build-up of silent bubbles. In addition to that, several other brands have added more significant tweaks, by trying to factor in things like age, heart rate, etc and using those to adjust the No Deco Time.
While a detailed comparison of the various models is outside the scope of this article, and the arguments of the pros/cons often resemble holy wars when it comes to the fervor of the participants on each side, it is worth noting that at the recreational level, either of these models is perfectly capable of keeping you safe. Yes, that is correct – from a safety point of view, there is no evidence that indicates that one model is better than the other for recreational diving.
What does vary between dive computers is how conservative or progressive they are. On a weeklong dive holiday, you might find that 2 dive computers often diverge by as much as 5-10 minutes when it comes to no-deco time. At this point, I can hear you going “wait a minute – how can 2 dive computers be so different? Which one is correct?”
Remember – there is no correct answer. These are just models using probability curves and taking into account multiple factors to arrive at a single number – what you see as being a higher or lower number is merely a function of which factor has been given more or less weight. All these models keep you safe – they just do it differently. So “which is correct” is the wrong question to ask.
A more appropriate question is – which one is better for me: more conservative or more progressive.
As a general philosophy for diving, we can all agree that “more conservative is better”. But as with everything in life, you reach a point of diminishing returns. That’s why we don’t wear helmets when we drive, or elbow/knee pads when we walk, for example. So if we are on an expensive dive holiday to a dream destination, do we necessarily want a dive computer which cuts out dive time short by 10-15 minutes on each time?
In my experience, experienced divers often have a good idea of which algorithm has worked well for them and are also aware of any personal risk factors that may apply – they would be better off with a more progressive option, as this would let them build in additional safety margins if needed, and give them more bottom time otherwise. On the other hand, beginner divers may still be developing their diving discipline/awareness, and so may benefit from a more conservative dive computer, which gives them a margin for error (which, to be clear, is not something you rely on!). Also remember – you can add conservatism to a more progressive dive computer via its settings, but you cannot make a conservative dive computer more progressive.
So my recommendation is that if you think you have the discipline and awareness to add your own safety margins when applicable (eg, if you are tired, been in a strong current, etc), then a progressive dive computer would be fine for you. If you are a diver who is at greater risk of DCS (age, weight or other factors), or want the comfort of added safety margins, then a more conservative option would be better for you.
FEATURES OF A DIVE COMPUTER
So if a cheap dive computer keeps you just as safe as a more expensive dive computer, why is there a price difference? The answer is simple – due to features. Some features are virtually essential and greatly enhance the utility of a dive computer (and make it less likely that you will outgrow it). Others are convenient and nice-to-have. And yet others are a matter of personal preference.
So here is a list of popular features and some details about them, which you can use to determine whether or not you want them.
Nitrox:
In this day and age, you should not buy a dive computer that does not have Nitrox mode. Even if you are not Nitrox certified now, you may choose to get Nitrox certified later (and there are very good reasons for doing so: namely, extended bottom times) – and having a dive computer that allows you to dive with nitrox will help. Dive computer manufacturers realize that – it is very hard to find a computer that does not have Nitrox. Do look into how easy it is to set the nitrox, and whether there is an easy way to check what mix you are diving with. Failure to set the mix correctly (or forgetting to switch back to air later) are very common mistakes, and the easier it is to set/see your nitrox mix, the less likely you are to make this mistake.
Ascent / depth / time alarms:
I cannot think of a single computer that does not have them. What does change is how loud those alarms are. So if they matter to you, look into whether or not you can hear them (or feel them, if there is a vibrate mode).
Legible Display:
The benefits of a display that is easy to read, even in poor conditions, should be obvious to everyone. Sometimes, this can take the form of a backlight – other computers have active LED displays which are much brighter. However, legibility goes beyond just that. Is it easy to understand what all the elements in the display mean – this is especially true when you go into accidental decompression, when you are faced with a display that you may not have seen before: can you clearly identify that you are now in decompression? Are all the numbers clearly labelled and can you tell what they mean?
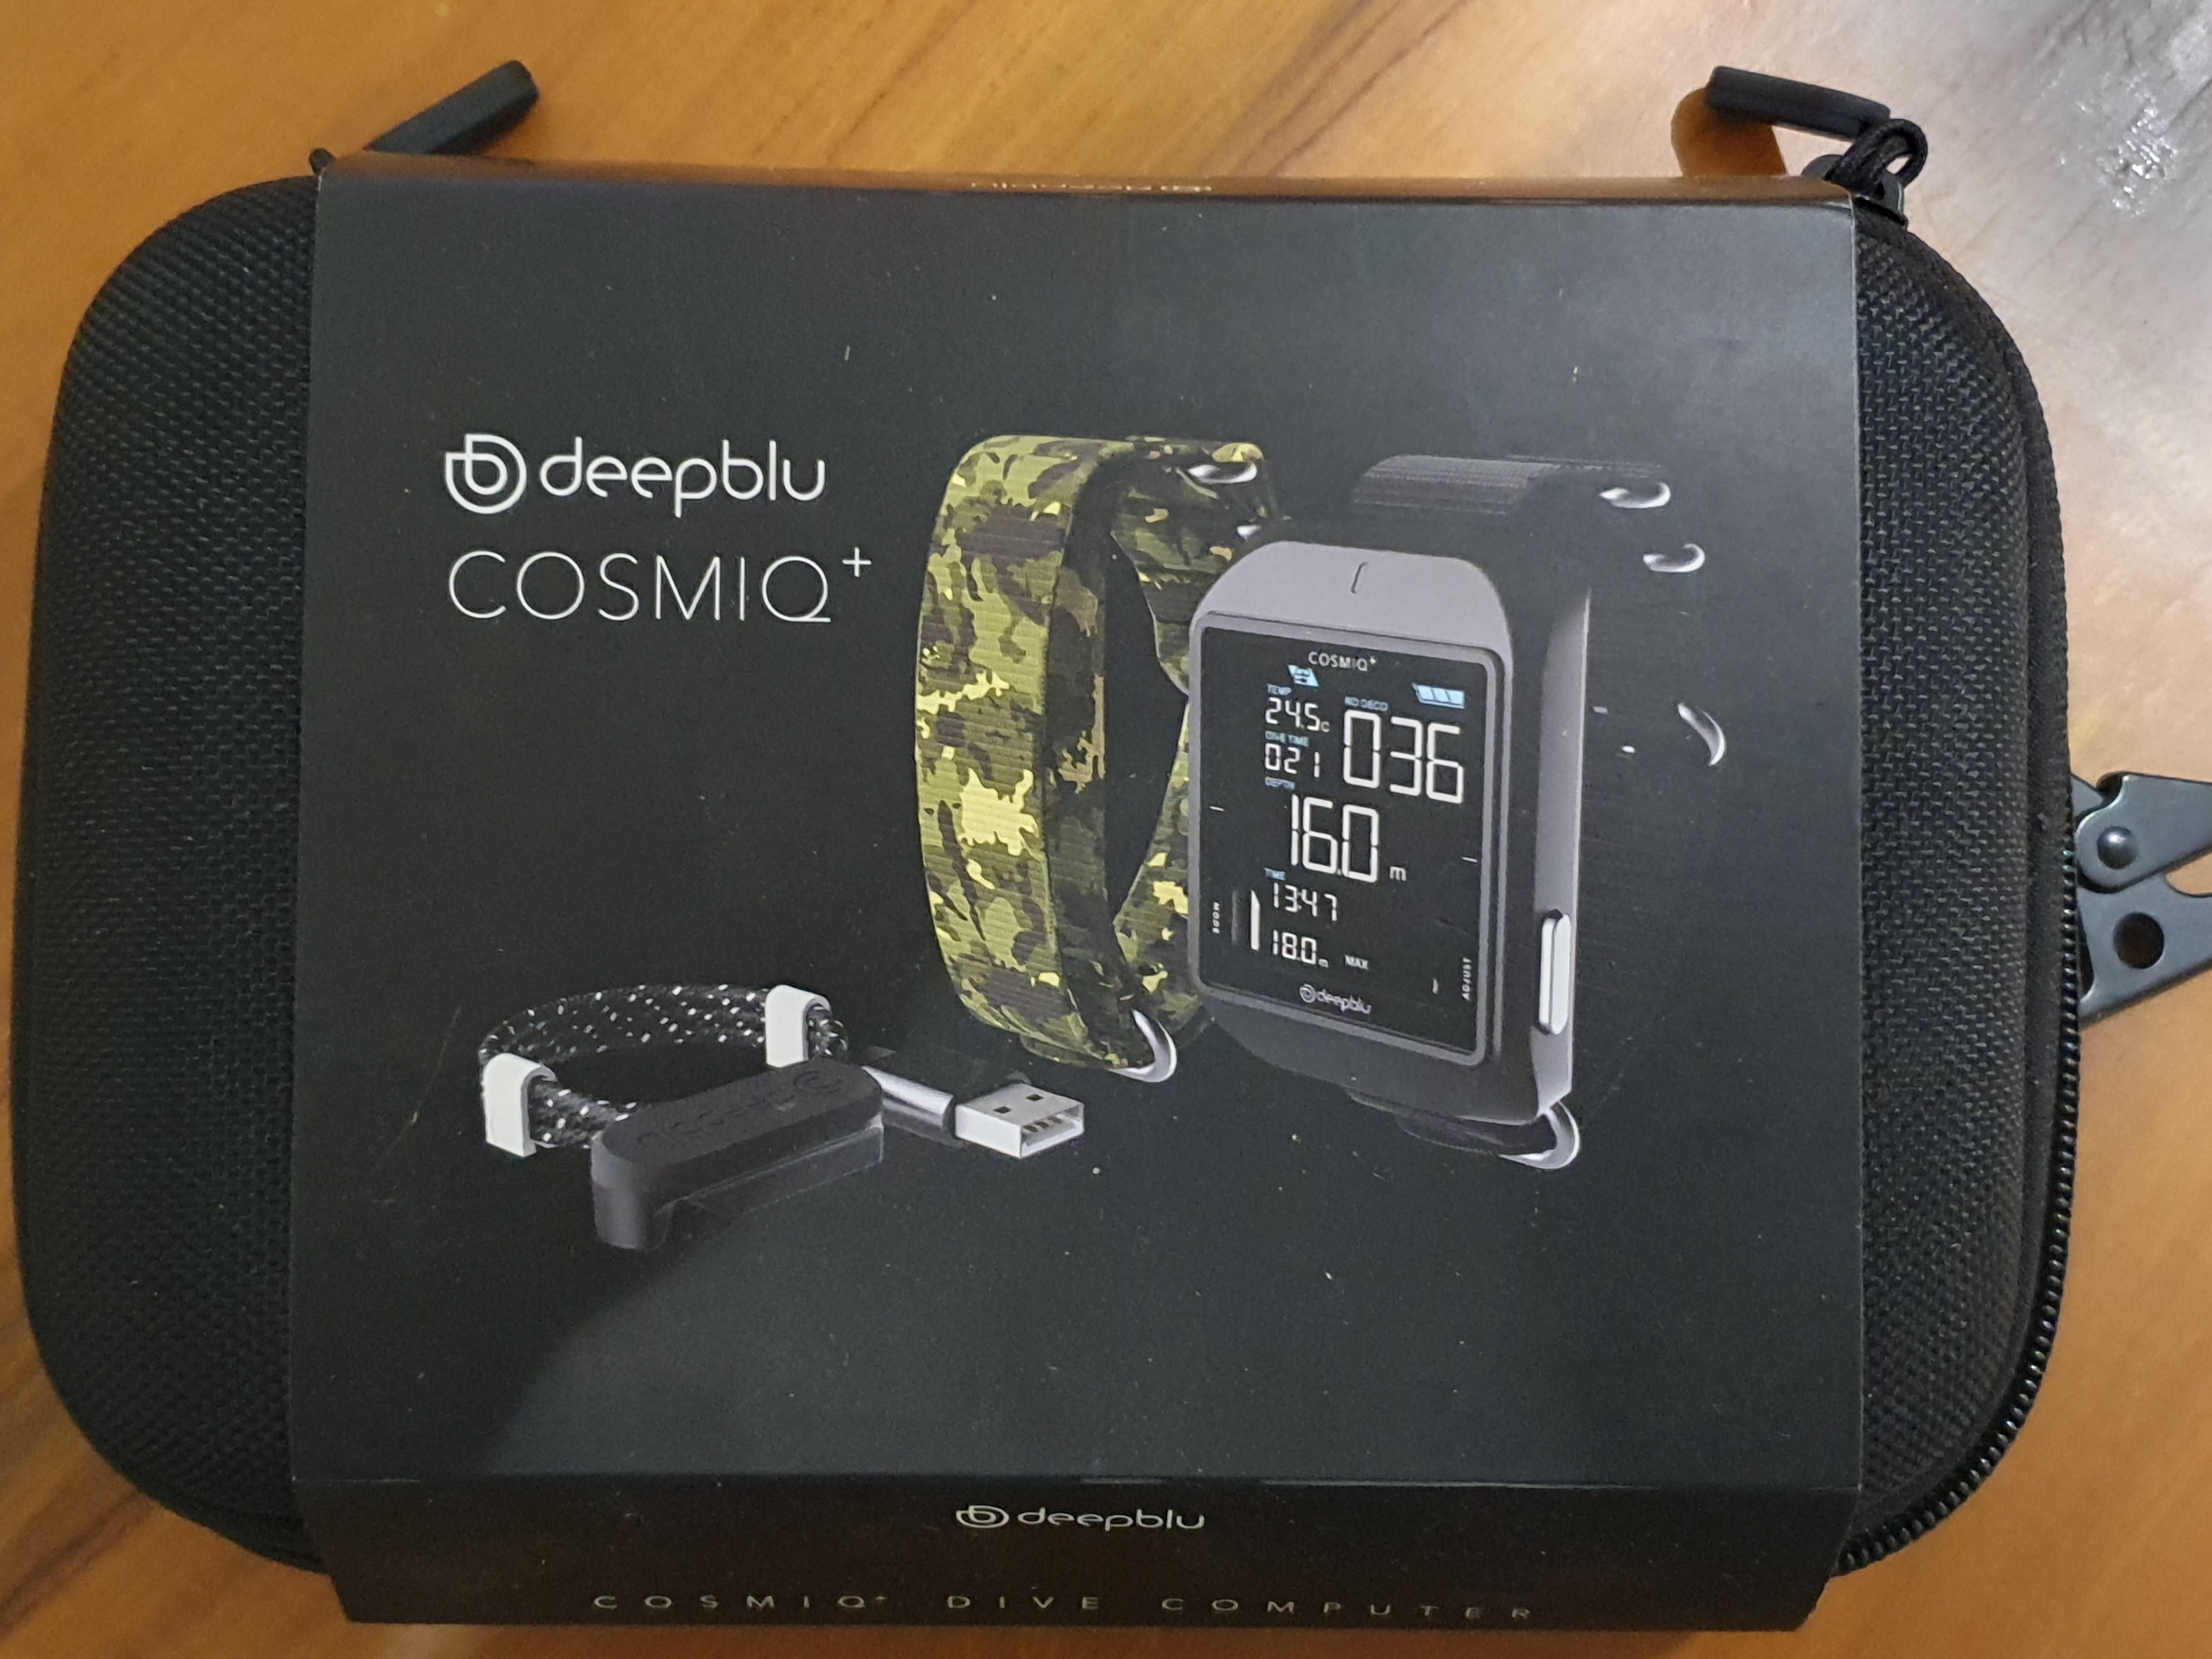
Battery Life and Charging:
One of the banes of old dive computers used to be the need to send the entire computer to the shop to have the battery changed. And imagine the feeling of being 2 days into a week-long dive holiday and having your computer battery die! We have seen this happen with quite a few divers who have come to dive with us, and I have had it happen to me when traveling. So I firmly believe that any computer that you use today should be one with either a rechargeable battery or a user-replaceable one. Rechargeables are easier, but rely on a proprietary connector. User-replaceables require you to have a spare battery of the appropriate type. So there is a tradeoff.
The other element here is battery life. Some dive computers have great, colorful displays but may last only a couple of days. Others go up to 40-50 dives. Yet others can go a few hundred dives. Typically, the brighter/more colorful the display, the shorter the battery life. And rechargeable dive computers (usually but not always) tend to have shorter battery lives than those using AA batteries. Which one you go with is a matter of personal preference.
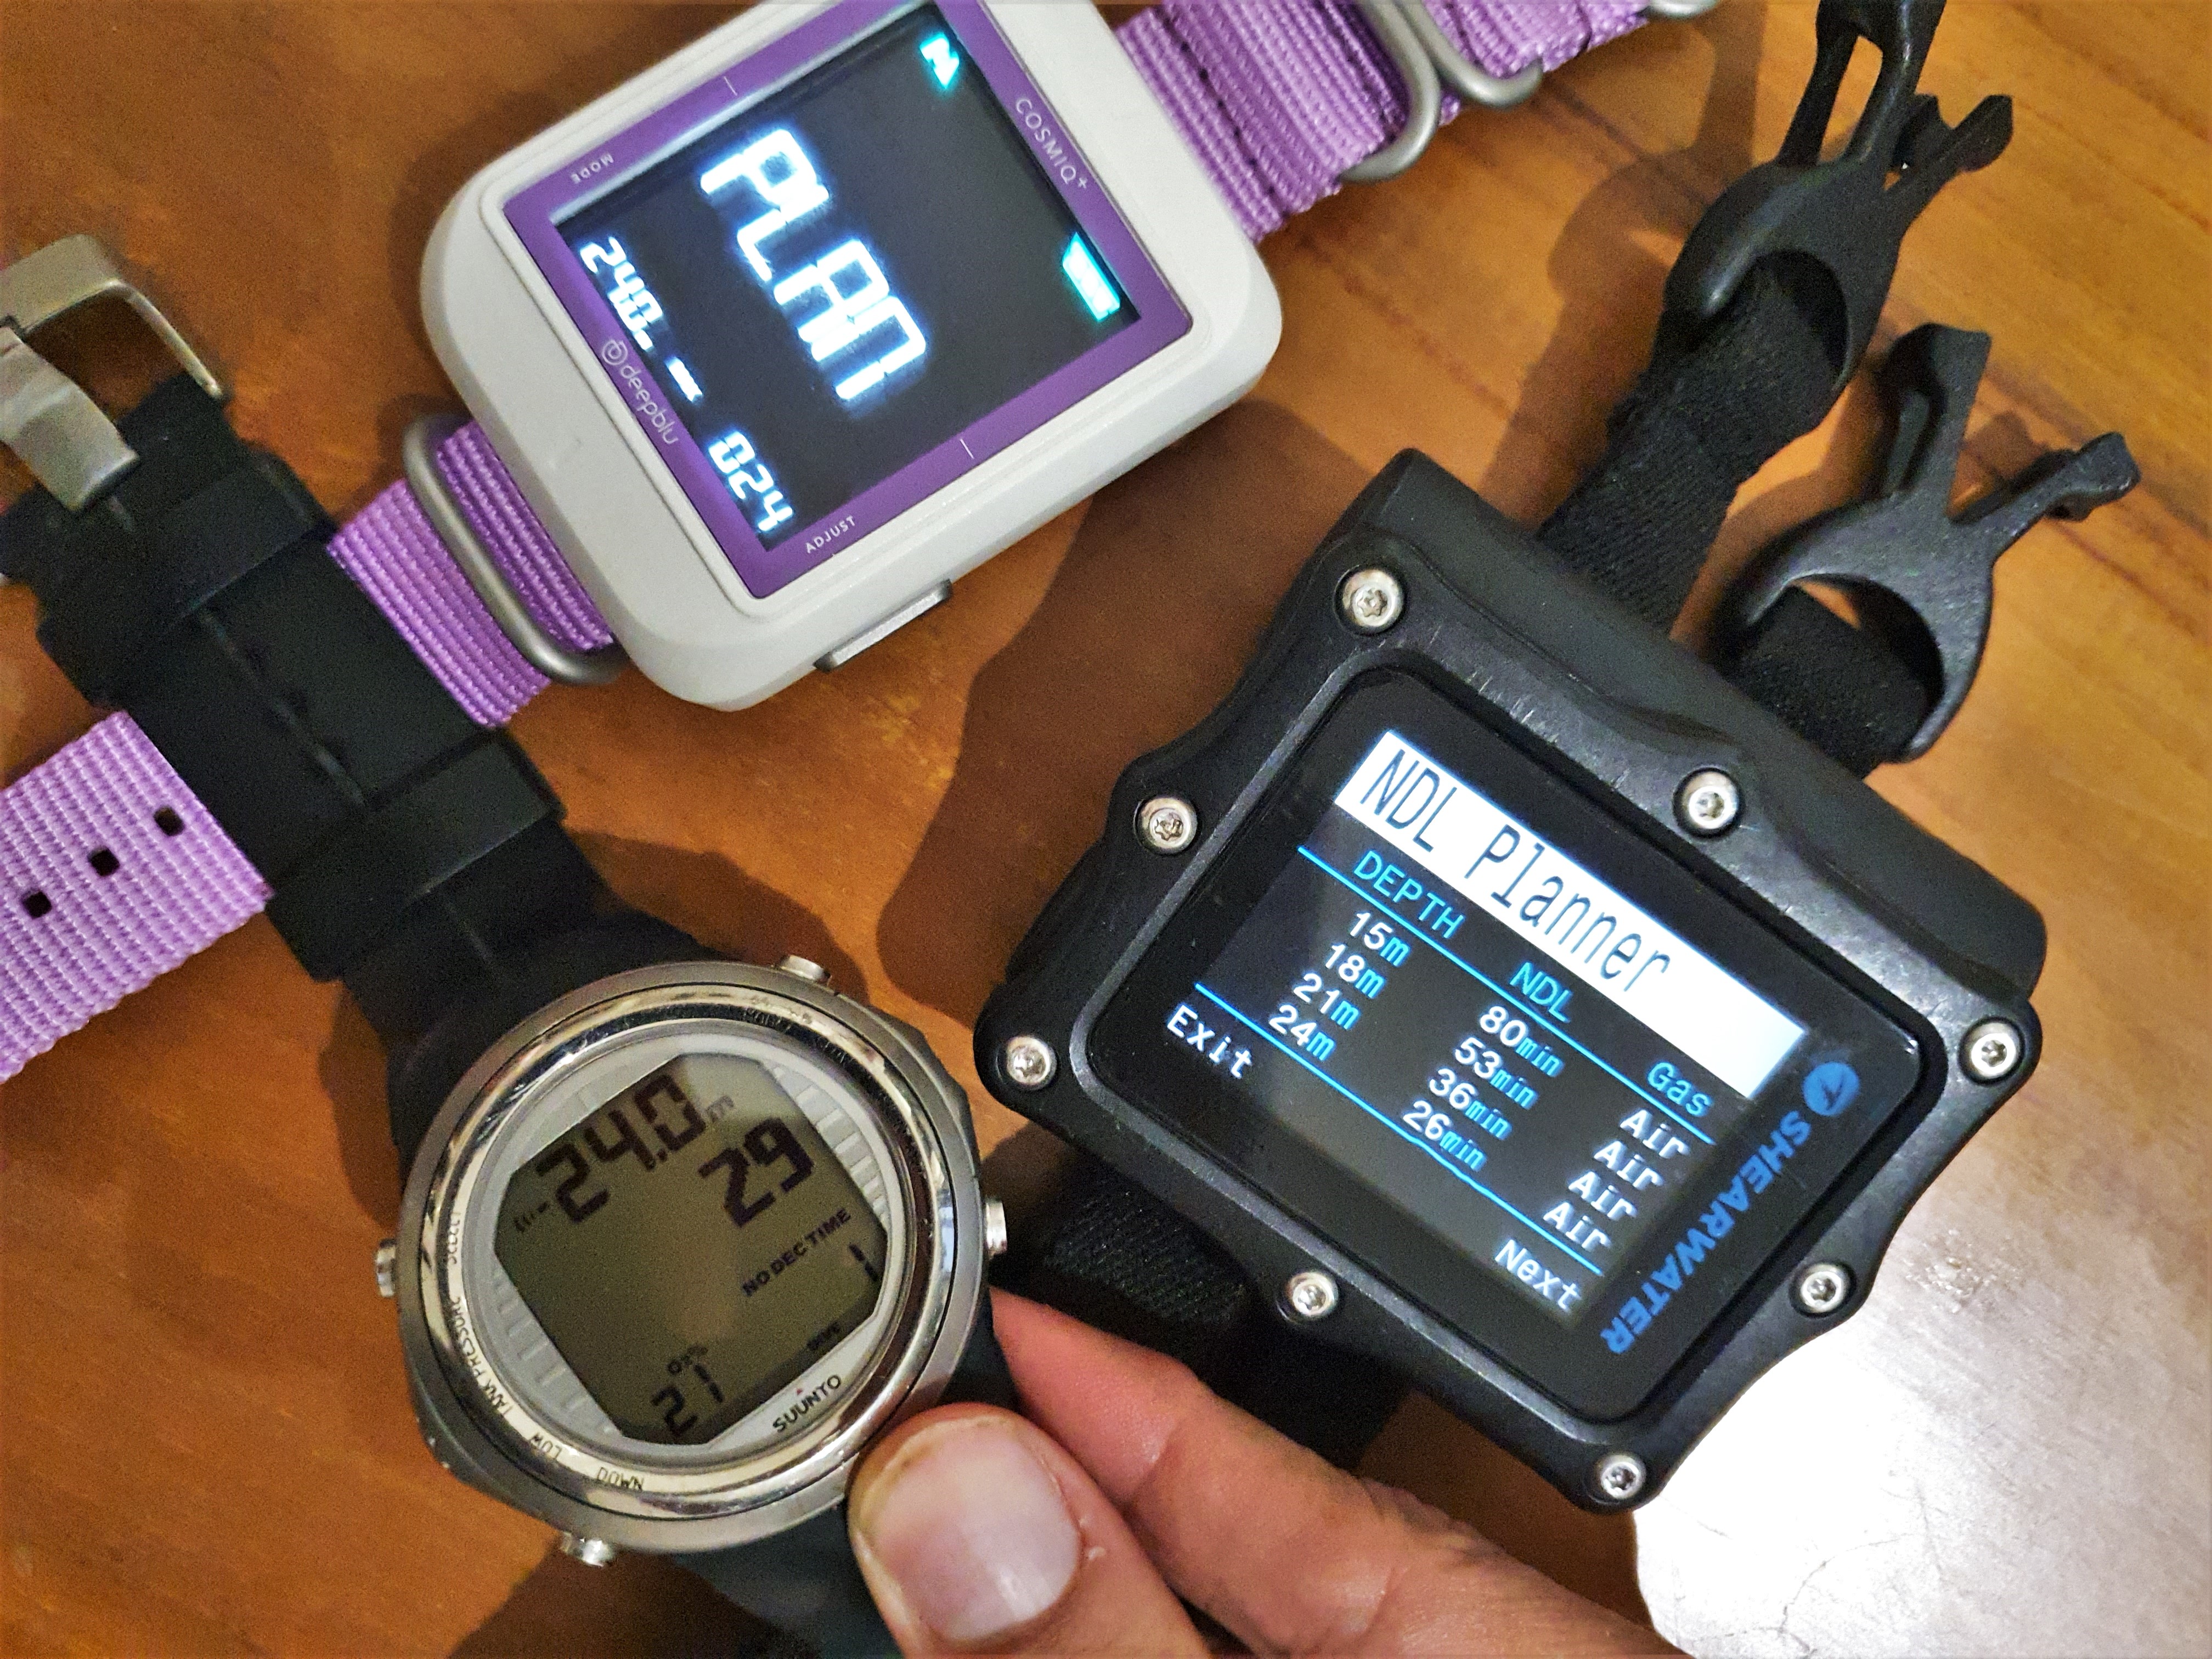
Planning Mode:
Most computers have some kind of a planning mode, which lets you figure out how much bottom time you have at various depths, which is important for dive planning. The most basic dive computers only give you the allowed bottom time if you were to dive immediately. Other dive computers let you add on additional surface time and calculate the allowed bottom time in such cases. This is very handy for dives where you plan to go to a specific depth, as it lets you figure out how much surface interval you need.

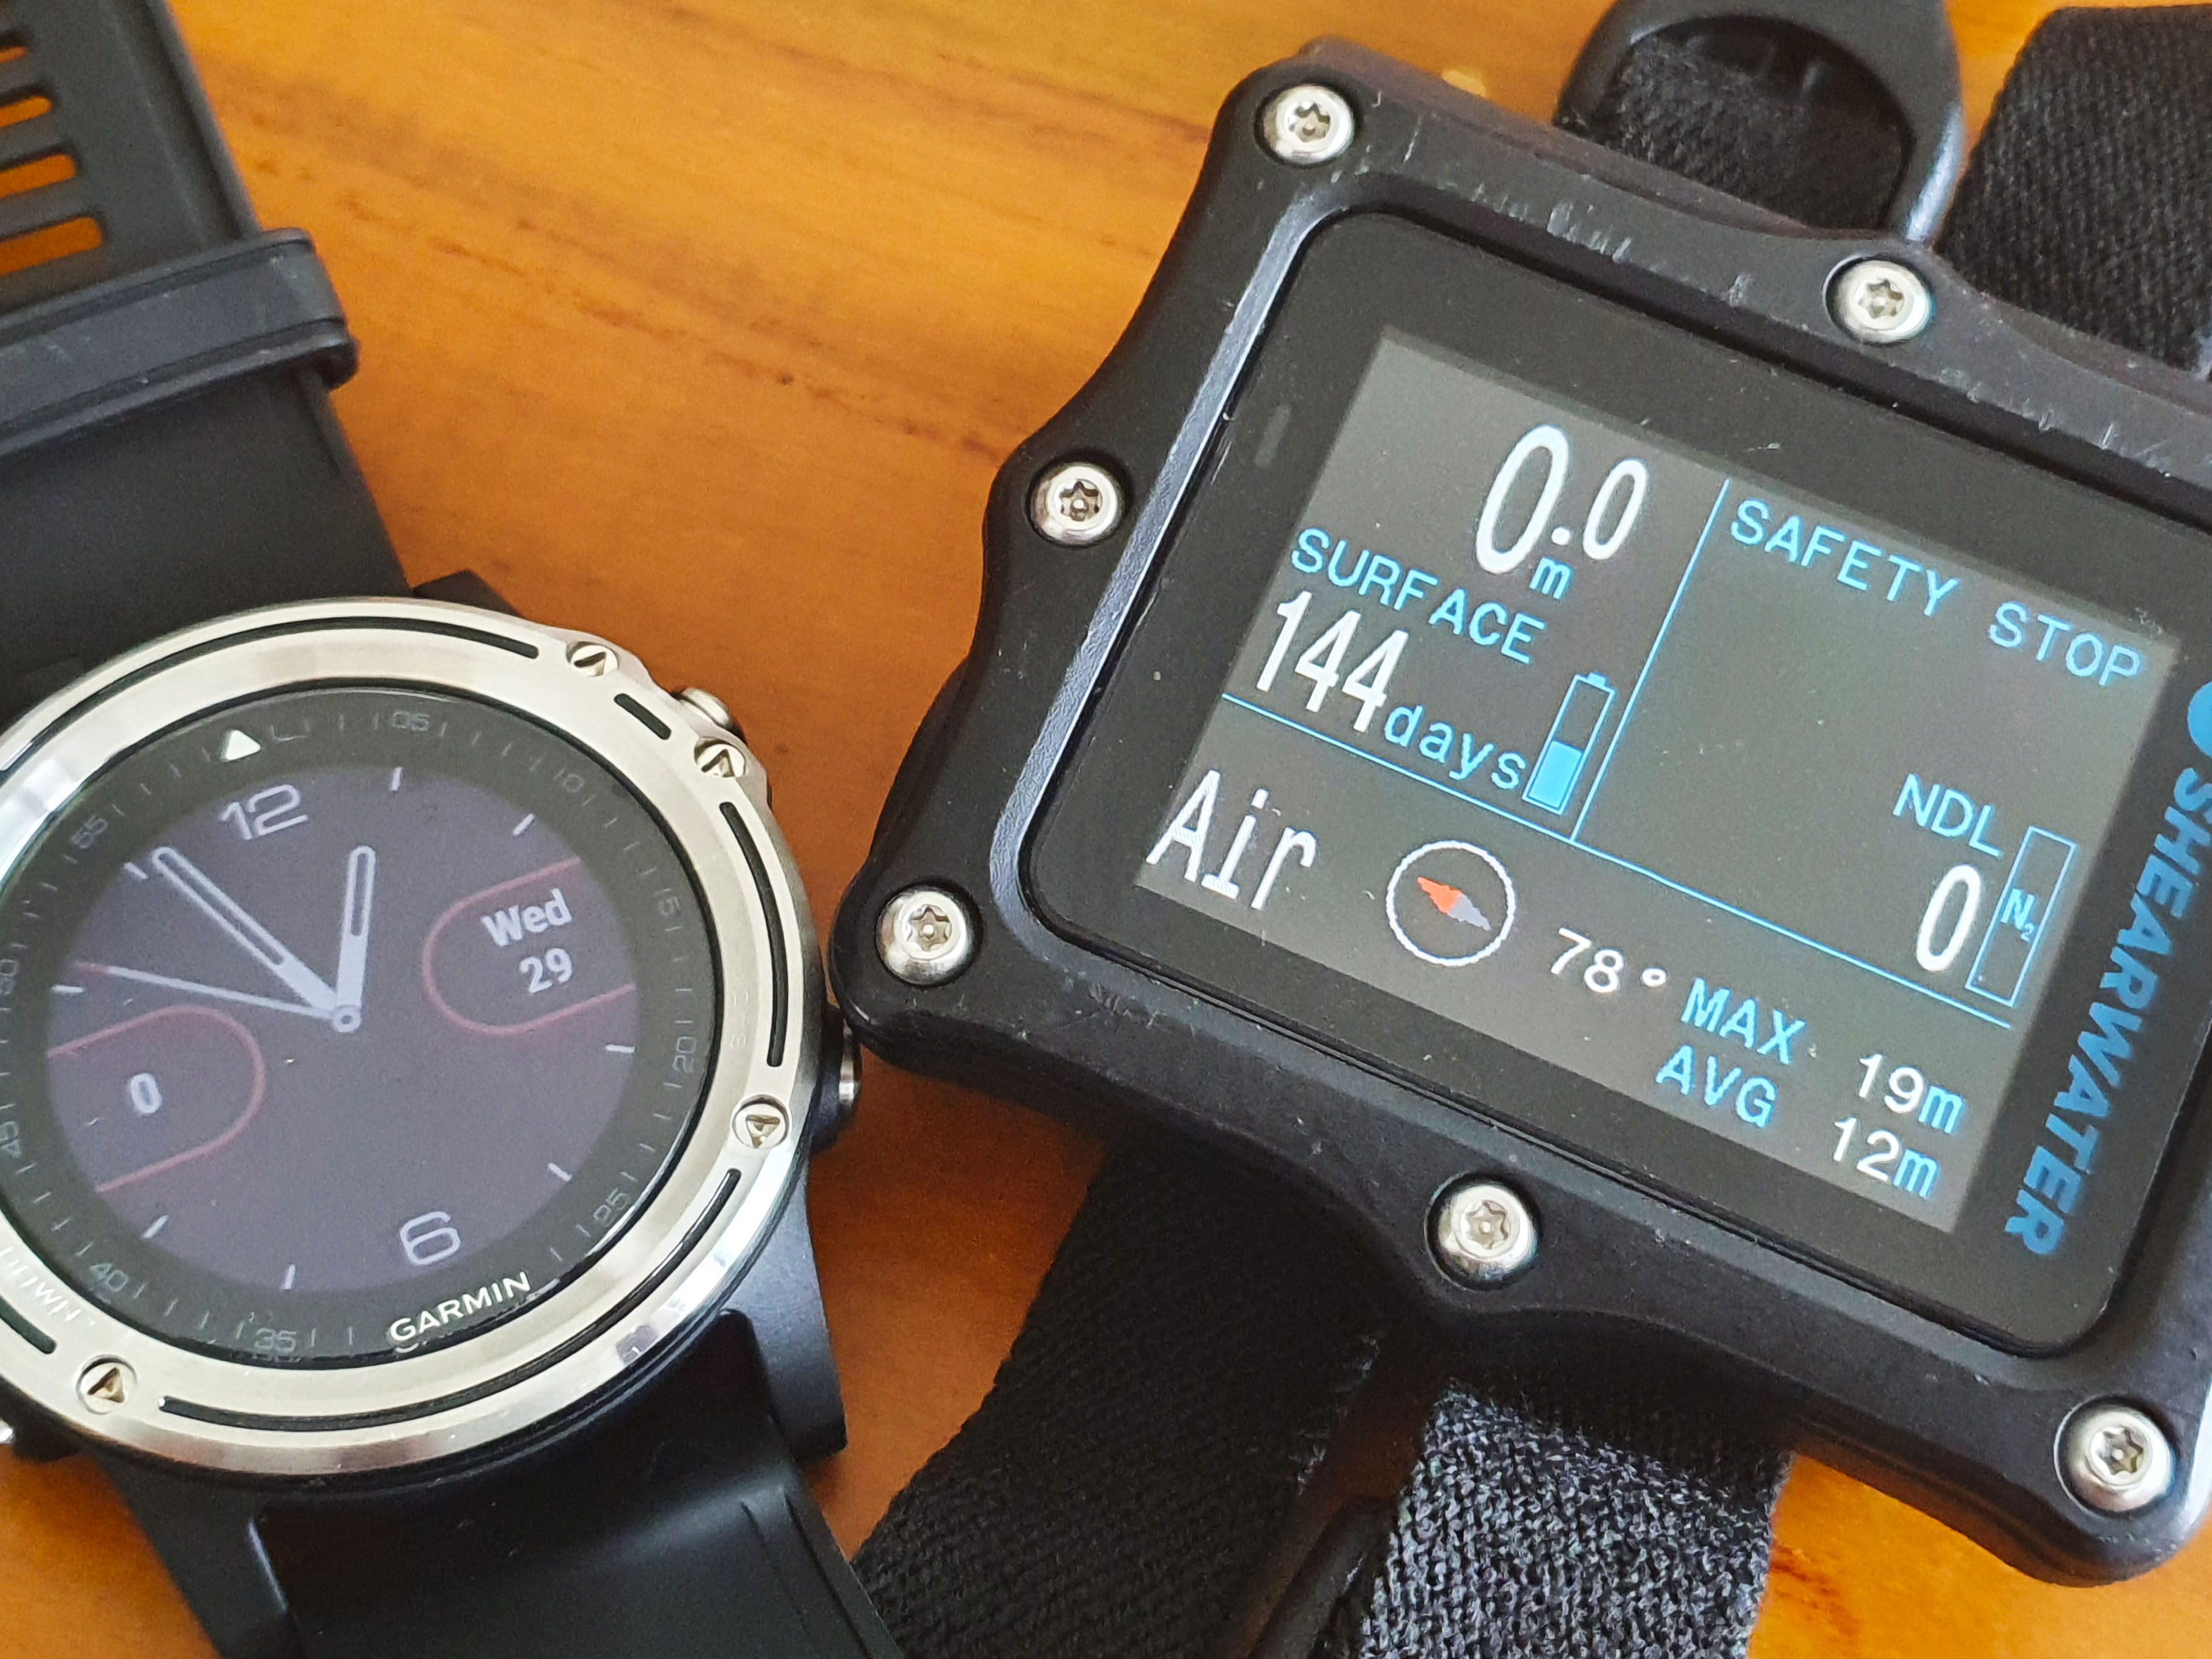
Screen showing the Shearwater Perdix in planning mode. You can also increase the surface interval and see how that affects the NDL
Ergonomics:
How easy is it to change the settings on your computer – such as nitrox percentage, depth alarm, personal conservative factor, etc? How easy is it to scroll between displays when diving? With enough practice, you can get used to pretty much any device, of course – but what if you pick up the computer after a gap of 5-6 months and then, while on a dive boat, realize you need to change a particular setting? Will you remember what to do?
One of the most common questions I get asked on a dive boat is “hey Vinnie, how do i set the nitrox on this thing”, as someone hands me an unfamiliar dive computer. The easier it is to remember, the less likely you are to mess it up.
Deco diving / Tech Features:
All computers will handle accidental decompression – ie, if you accidentally exceed NDLs. However, not all computers react the same way afterwards. Some computers are designed for decompression diving – eg, Suuntos, Shearwater and more. If you go into deco, they tell you want to do and happily keep purring afterwards because their standard algorithm is compatible with decompression diving. Others are not: while they will give you the info you need to complete your accidental deco, they will get more conservative later because their algorithms are not designed for decompression diving.
In addition, some dive computers designed for tech diving will allow you to switch between different gas mixes. Yet others are capable of working with trimix. Typically, only higher-end dive computers have these features. Are they need for recreational diving? Not at all. But if you plan to get into tech diving, then getting a computer with these features ensures you won’t outgrow the computer.
Digital Compass:
One of the least-developed skills among recreational divers – especially in tropical reefs – is navigation. That reason is obvious: most of the time, you are following your DM, who handles the navigation for you, and so you don’t get a chance to practice. Having a compass is useful as it lets you work on your navigational skills at all times – and of course, if you and your buddy plan to dive without a guide (or you get separated from the guide), the compass becomes an essential part of your toolkit.
You can get an external compass and mount it on your console or clip it to your BCD, or you can get a dive computer with a built-in digital compass. I have a strong preference for the last option – neater and always there when you need it. This is a very under-rated but nice-to-have feature.
Air Integration:
If you had asked me a few years ago what I thought of air integration, I would have said “not for me”. Then I got the Shearwater and have been using its air integration feature, and am getting sold as to its benefits. It’s really convenient to be able to see all your information, including air, in one go. But one very nice benefit is that it also lets you see your air consumption rate on the fly – so if you are breathing a little faster for some reason, you will see that and can adjust your breathing rate accordingly. Eg, my breathing rate often goes up when I am taking photos, as I use my lungs and legs to compensate for currents while I try to get a precise composition – sometimes, my gauge has provided a very useful reminder that I am being too inefficient and that perhaps I should try a different method to stay in position.
Higher-end models even let you add multiple transmitters – so for example, you can see not just your air but also that of your buddy (or air of 2 different tanks, if you are diving sidemount or have deco bottles with you).
Essential? Of course not. But definitely very nice to have. When I use my other dive computer, which lacks air integration, I definitely miss it.
Form Factor:
Some dive computers are large and chunky. Others are more wrist-watch sized, not much larger than a regular watch. And this does matter. A larger dive computer will have a more legible display. But it is also one extra thing to pack and carry, and also something you will have to take off/put on every time you get in and out of a wetsuit. By contrast, a wrist-watch sized dive computer is something you just put on and forget – no risk of it falling while on the dive boat, no risk of forgetting it in your hotel room on the morning of the dive, etc.
Heck, you can just wear it every day as your regular watch – so if an unexpected dive opportunity comes up, you are good to go (I used to do that with my old Suunto dive computer – and it came handy when I was traveling through Africa for 4 months, and got some unexpected opportunities to go diving). I personally have a very strong preference for wrist-watch sized dive computers (and am considering switching my personal Shearwater from a Perdix to a Teric for this very reason). But larger displays are also nice, especially for older eyes. So think about what matters more to you.
Materials, Straps & Colors:
Dive computers can be made of polycarbonate or have a steel (or even titanium) case – metal cases look nicer and may be preferable if you want to wear the dive computer as a watch. That said, polycarbonate is very robust and has good shock absorption properties, so don’t rule it out as being “lower quality”.
Straps can be of rubber, metal, elastic or fabric – the last two are often one-piece and so add a degree of reliability in case you lose a spring bar where the strap attaches.
And of course, choice of colors varies by model/brand.
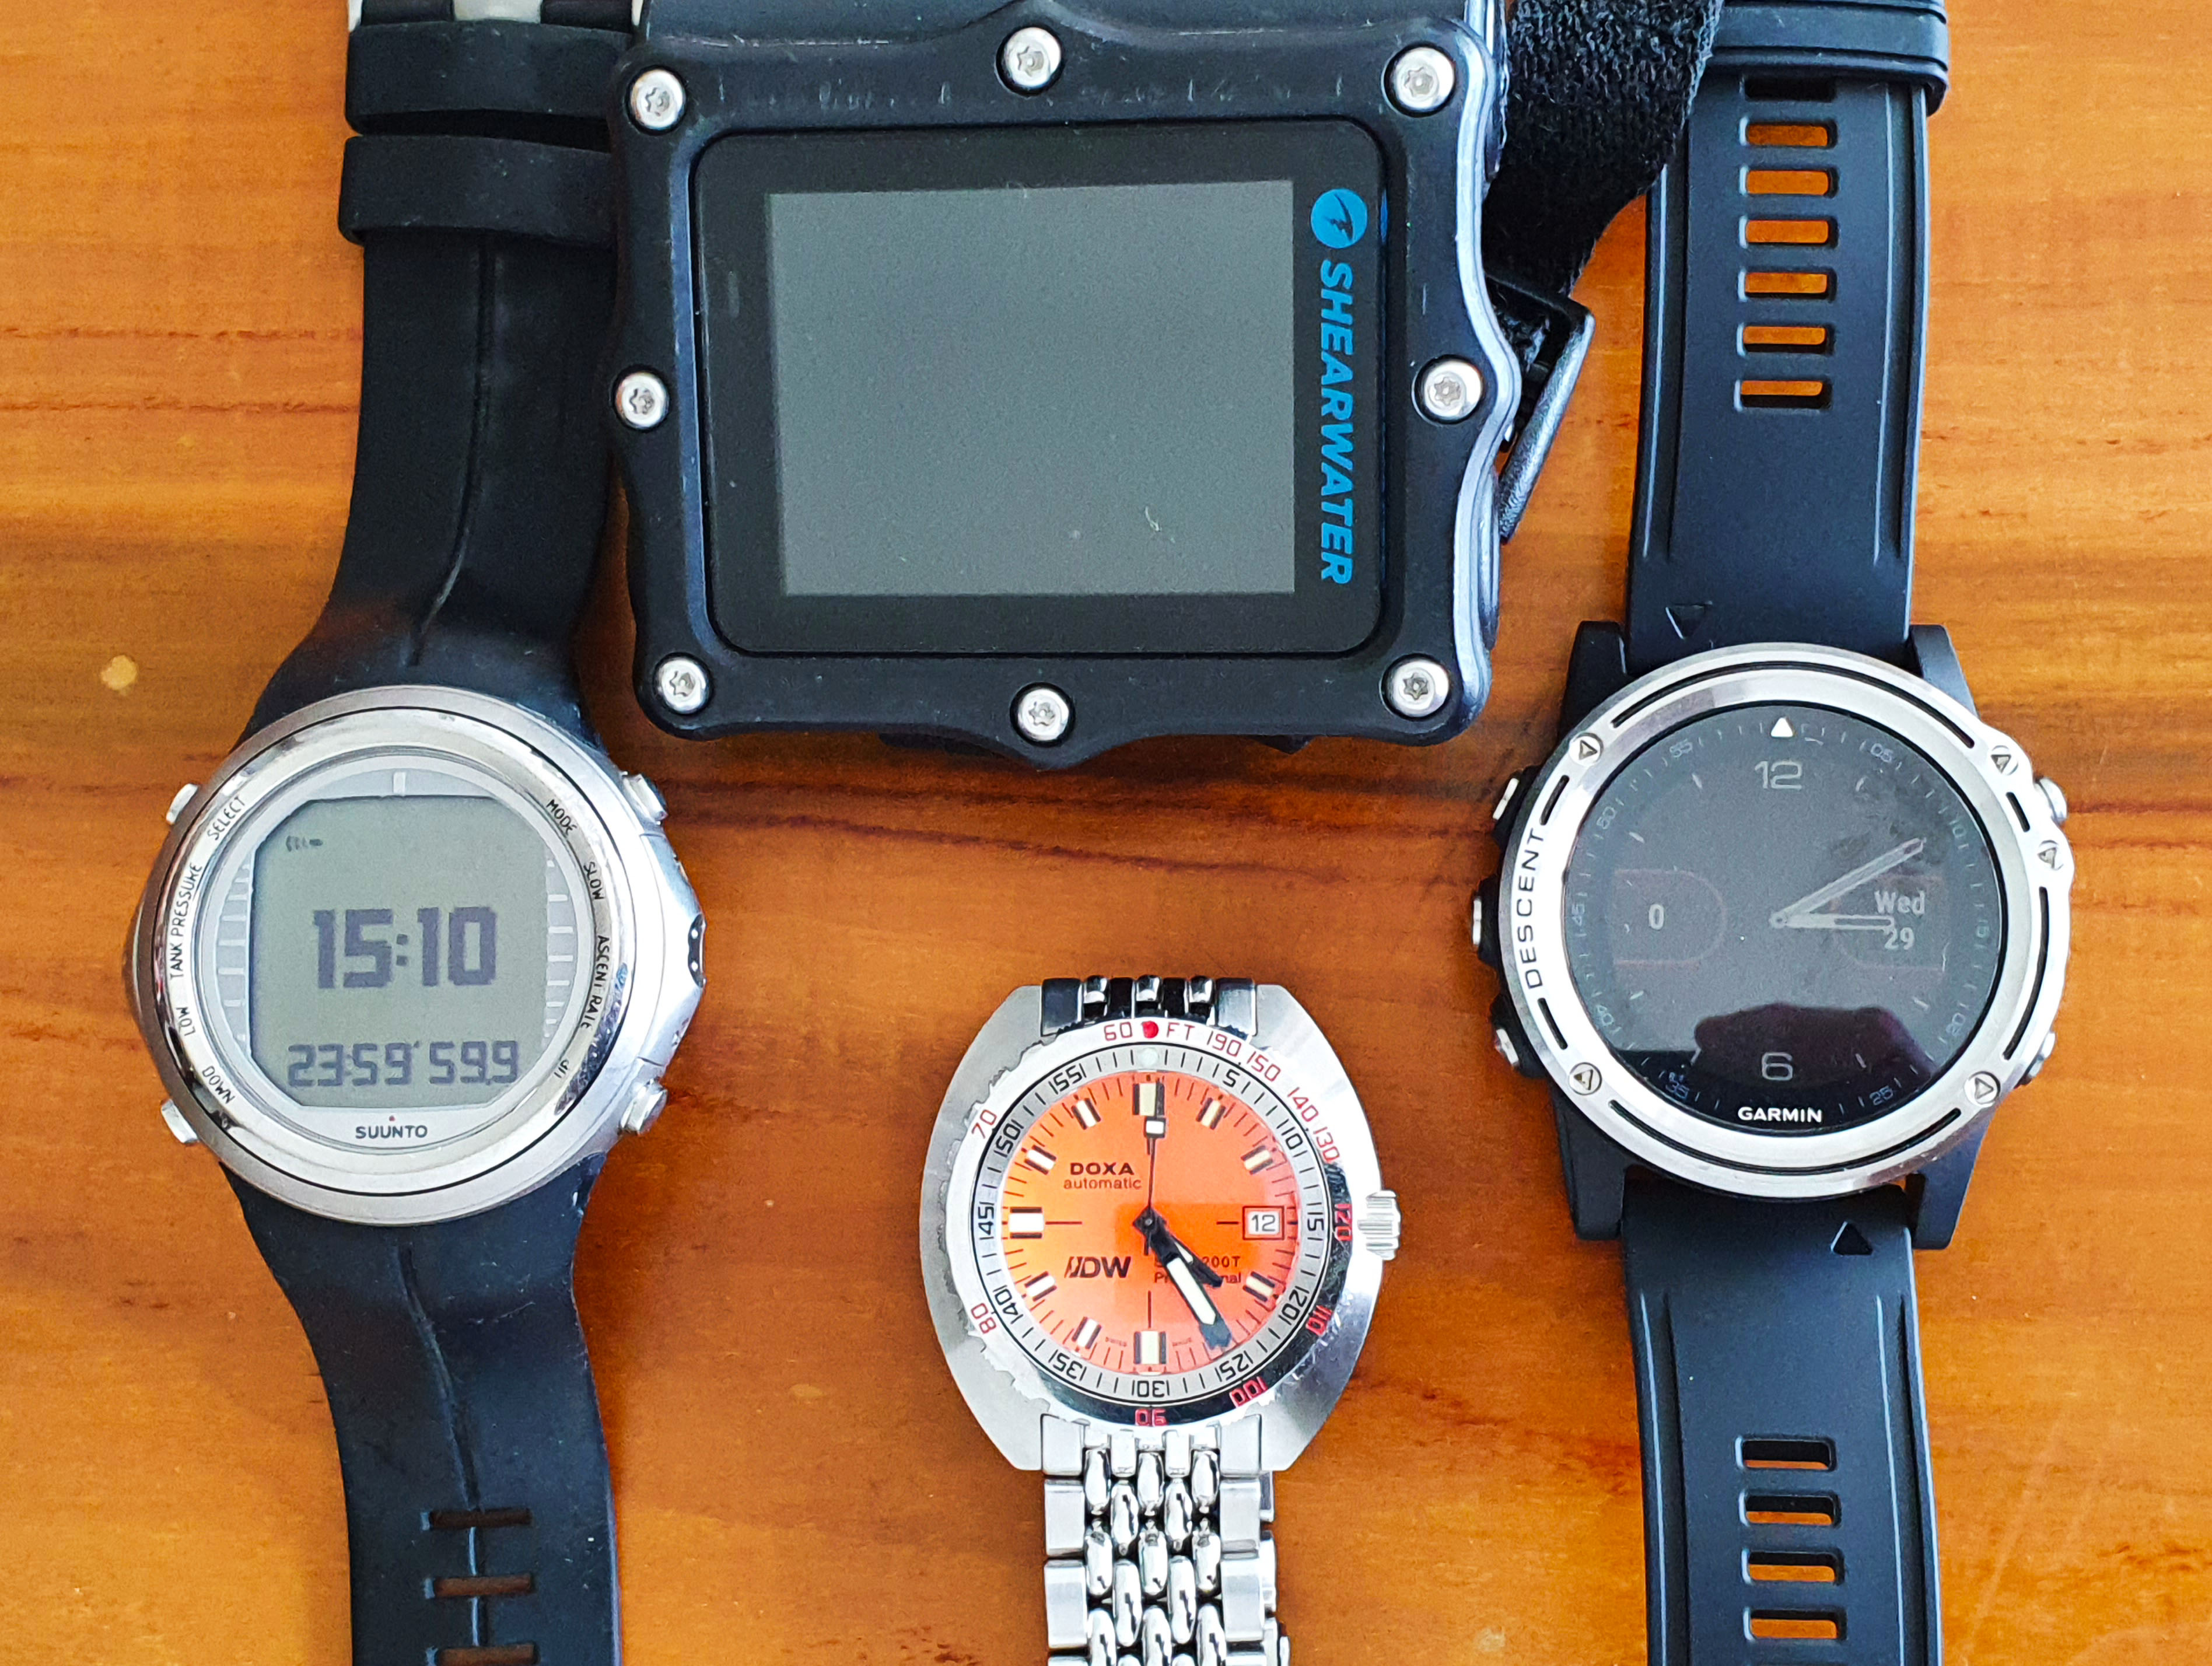
Form factors compared: Shearwater Perdix, Suunto D9Tx, Garmin Descent and a Doxa 1200T dive watch
Freediving/gauge modes:
This is also something that comes standard with virtually all dive computers have these days. Gauge mode is great if you want to use your dive computer as a bottom timer (eg, as a timer backup to a different computer) – it switches off deco calculations and just gives you depth/time. Freediving mode, as the name implies, is used for freediving/skindiving/apnea, and tracks dive duration, average depth, recovery times, etc.
Personal / altitude adjustments:
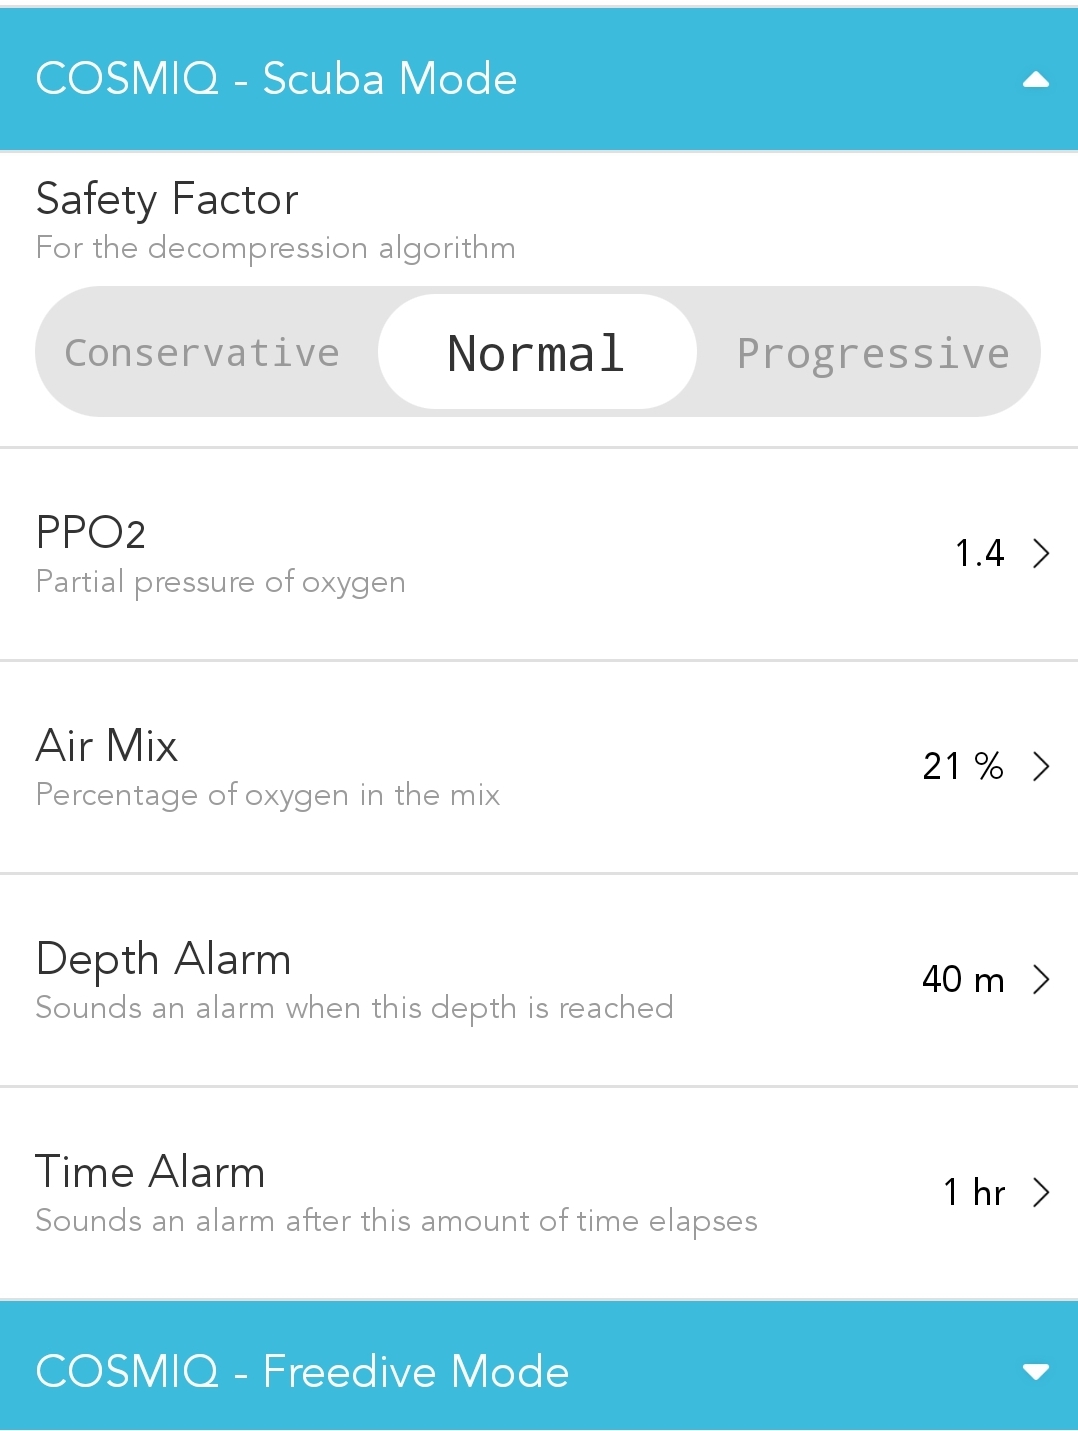
Virtually all computers let you adjust for altitude by changing a setting. They also let you adjust how conservative the model is – in most computers, you can make the computer more conservative, although some let you tweak in either direction: make it more or less conservative. Typically, these are just pre-cooked settings, but some high-end computers like Shearwater actually let you precisely adjust the gradient factors, so that you can customize the dive computer precisely.
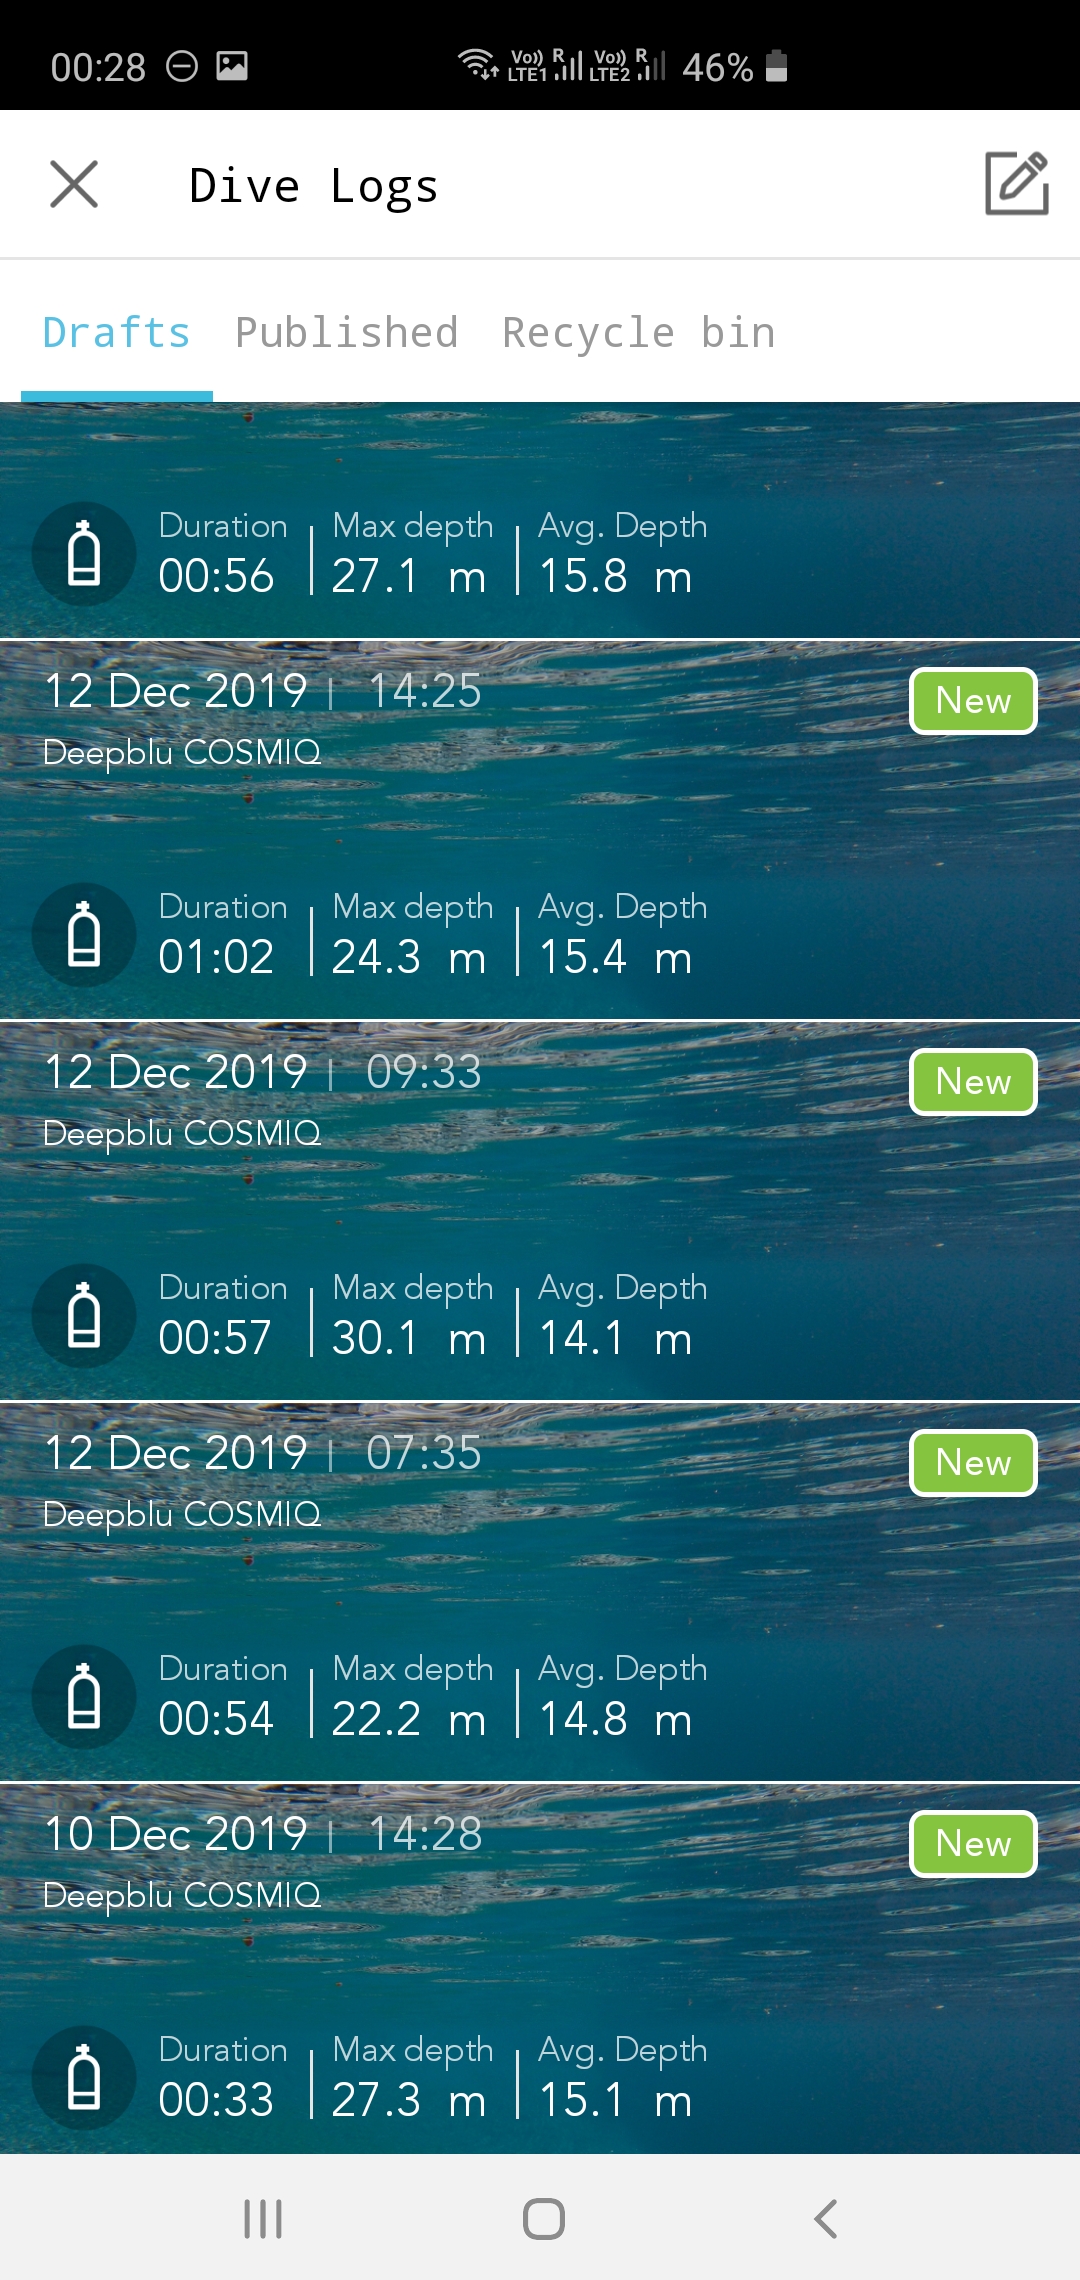
Digital Logs:
Some dive computers allow you to download your dive info into the brand’s app via a cable. Others do it wirelessly. Yet others have a full ecosystem built around uploading, geo-tagging and sharing your dives with other divers. I havent logged my dives for over 20 years and if I did, I would use paper – but I know many people prefer digital logs. If so, wireless transfer may be something to consider.
Other Features:
Some dive computers use a heart rate belt and factor in your heart rate when calculating your decompression info. That’s pretty slick, I have to say. Does it make you materially safer? I cannot say. Other computers combine activity tracking (steps, heart rate, etc) and are basically smartwatches + dive computers rolled into one. Are any of these essential for diving? No. Are they cool as heck? Oh yes. Should you get them? Depends on your budget and preference.
SUMMARY
In general, there are 3 price points for most dive computers.
At the entry level, you get the standard features: nitrox, freediving, gauge, alarms and algorithm modes (eg, standard, conservative, more conservative). These are sufficient for most recreational diving. Typical pricing for computers in this range is Rs 25,000 – Rs 35,000, more or less.
In the middle range, you get extra features like digital compass, air integration and more premium materials – this is a range from Rs 35,000 – Rs 50,000 or so, approximately.
At the high-end, you get no-holds-barred devices, with a lot of neat extras, like customizable/upgradeable algorithms, ability to handle trimix, ability to handle multiple air transmitters and so on. Prices for these can run to over a lakh.
What should you get? The answer is – it depends on your budget and preferences. The entry-level is where the value lies. That said, if budget allows, the mid-range lets you get computers which, while not essential, add a fair bit of convenience to your diving. And of course, the high-end gets you amazing devices that do pretty much (except spot hammerheads).
Hopefully, this article gives you enough information to help you reach a decision.
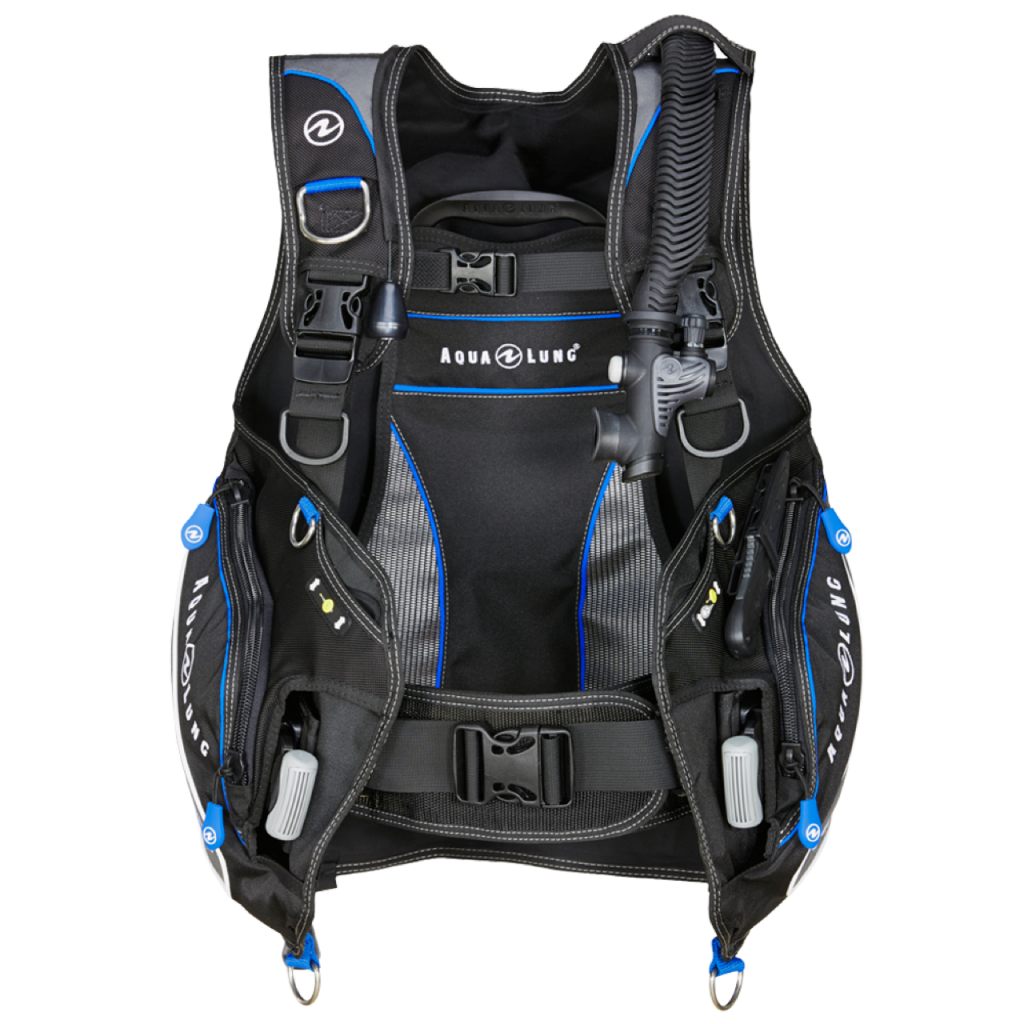
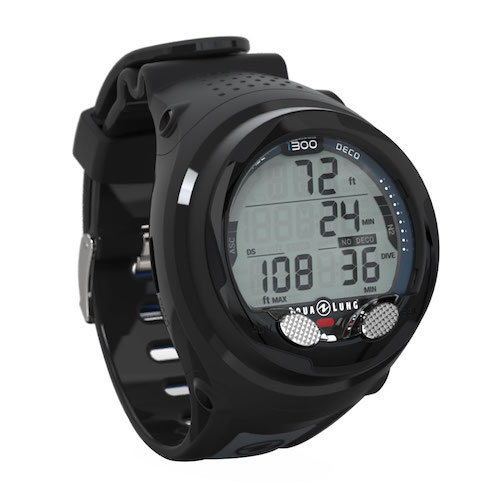
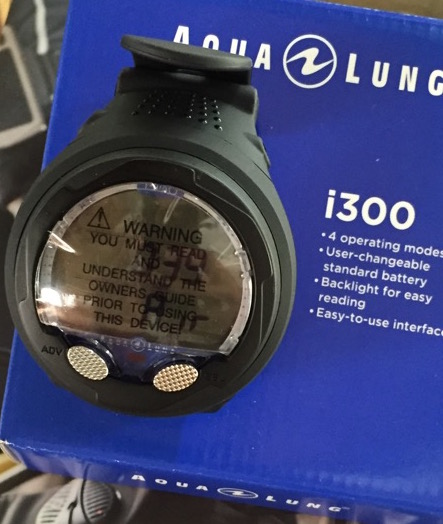
Oh, and we do carry a range of dive computers in our online gear shop – Mares, Aqualung, Deep Blu, Scubapro, Shearwater and Garmin – at very competitive prices (hint, hint!). Feel free to drop us an email at sales@diveindia.com if you have any questions and we would be happy to help you pick the right dive computer for yourself.
 The frame is a discreet unit, as opposed to one that has been molded together along with the skirt as a cost-saving measure.
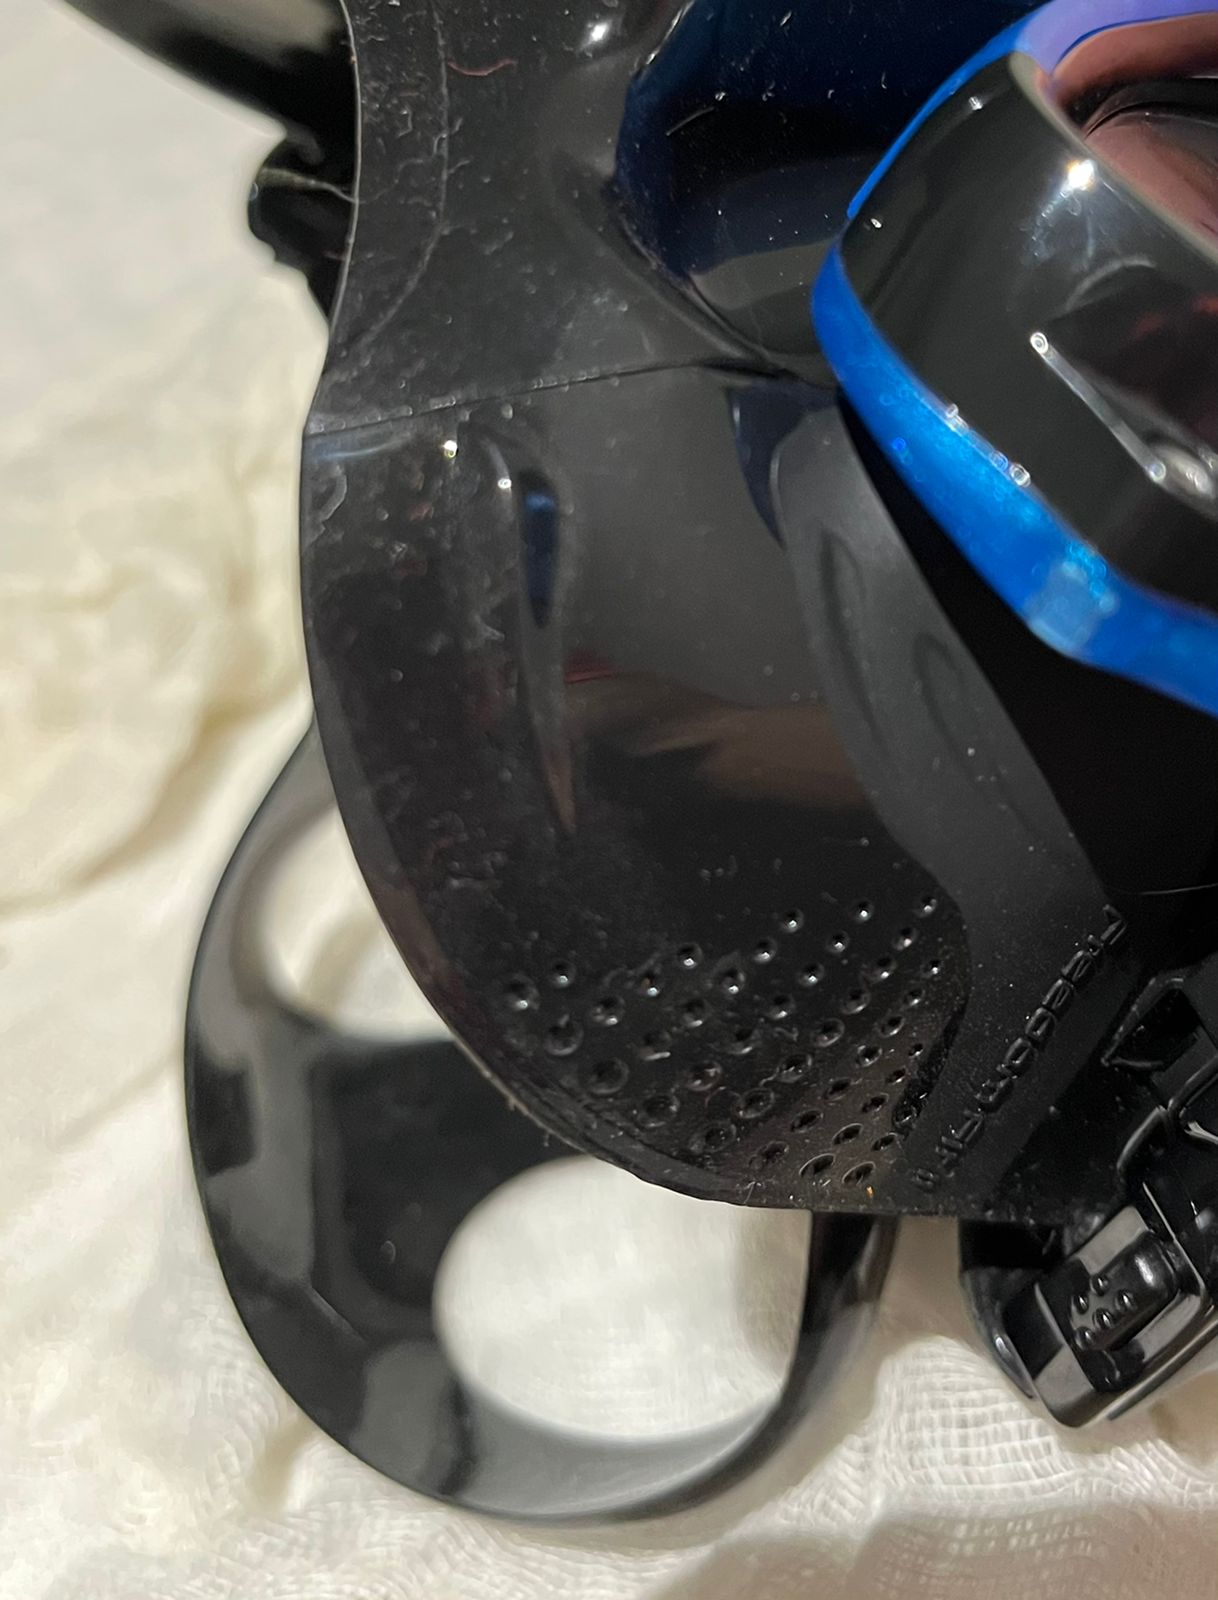 You can see the dots and the ridge on the silicone, meant to add structure to skirt. Also visible is the thinner layer of silicon below the nose pocket, which would contact your upper lip, just below the nose.
 Swivel clips, which are neatly tucked in behind the frame and do not stick out.
 PIC courtesy Tusa and presented for illustrative reasons only